


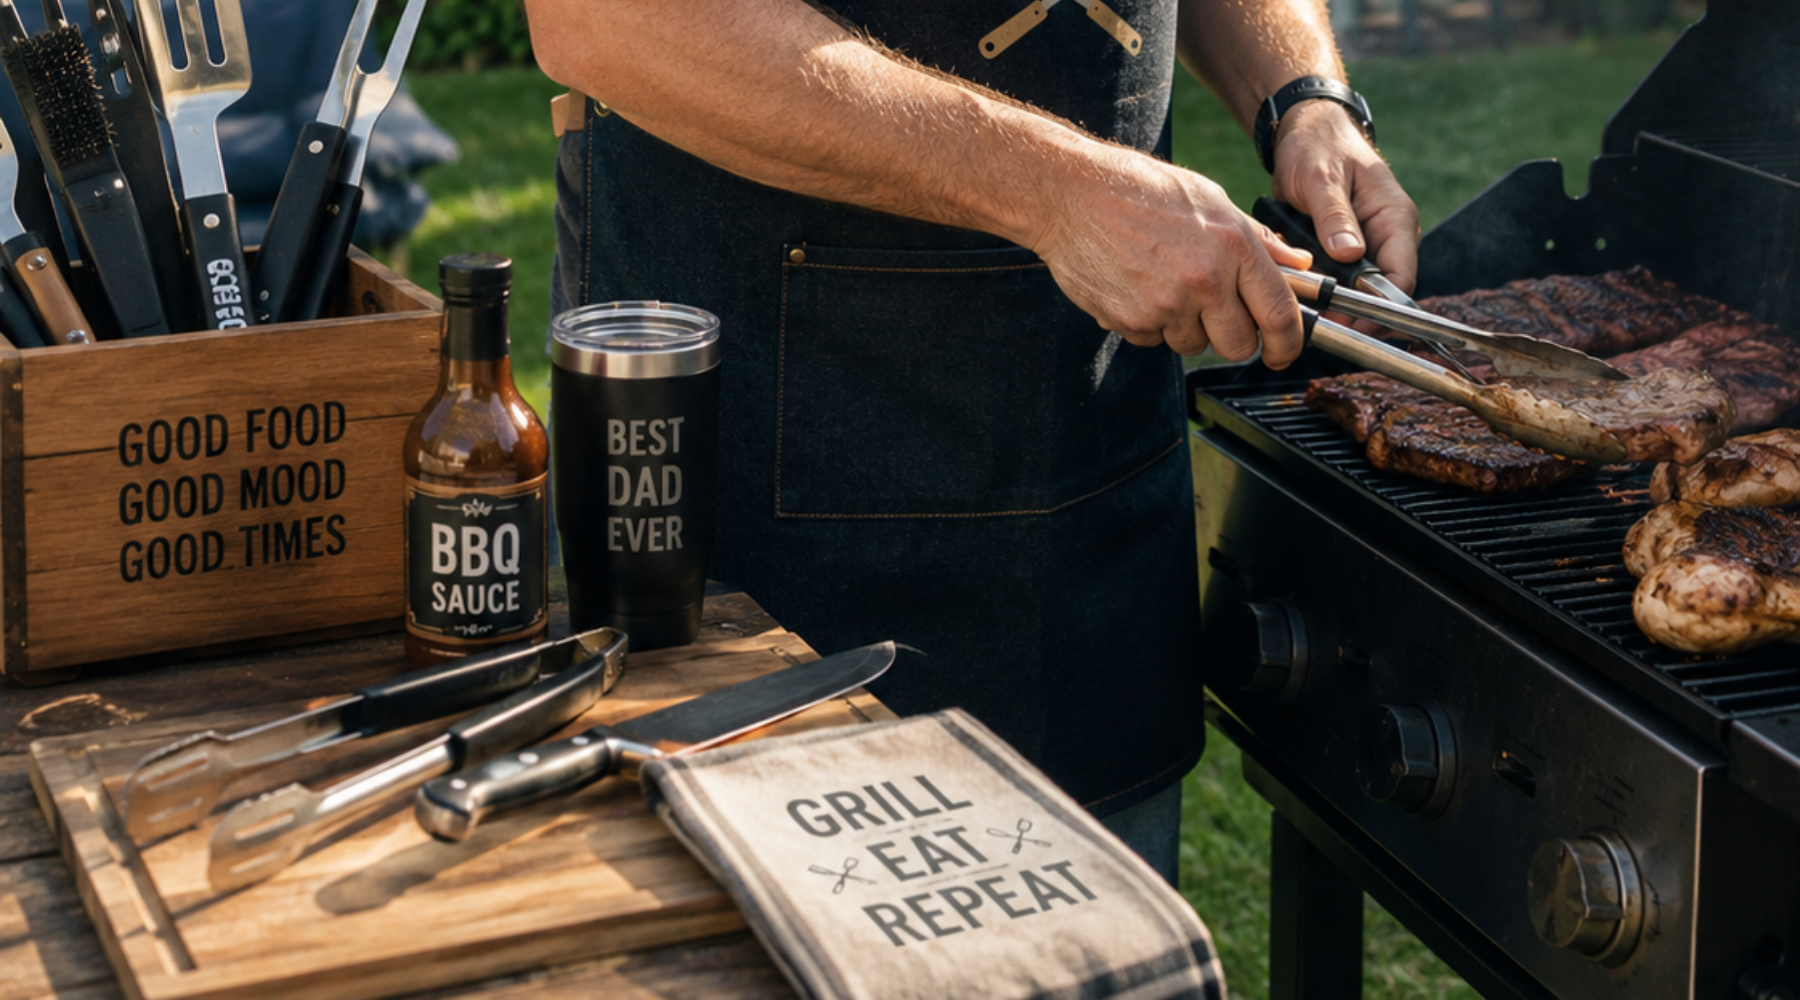
How to Help Dad Win at the Grill

BBQ Basics for Beginners: How to Help Dad Win at the Grill
Father's Day is coming, and maybe Dad just unwrapped a shiny new grill — or maybe he's been circling the same one for three years, quietly intimidated by it. Either way, the BBQ basics for beginners aren't complicated. They just need to be learned once, the right way, so they stick. The good news is that great barbecue isn't about secret talent or a thousand-dollar rig; it's about understanding a handful of fundamentals and repeating them. At Big Poppa Smokers, we've spent over 15 years helping thousands of first-timers go from "is this thing even done?" to "this is the best meal I've ever cooked." This guide is the roadmap.
Start with Heat Control, Not Recipes
The single most important BBQ basic for beginners is heat control — learning to set a target temperature and hold it steady, long before worrying about any recipe. Big Poppa Smokers recommends a first cook with no meat at all: light the fire, pick a temp, and practice keeping it there for an hour using only the vents.
The physics are simple once you see them. Open vents let in more oxygen, which feeds the fire and raises the heat; closing them down starves the fire and lowers the temperature. That's the entire game. Most beginners panic and chase the temperature with big adjustments, overshooting in both directions all afternoon. The fix is small moves and patience — a quarter-turn of the vent, then wait ten minutes to see what it does.
Big Poppa's DIY Drum Smoker Kit ($199.99) makes learning heat control almost foolproof — one intake vent at the bottom, one exhaust at the top. Master those two dials and you control the entire cook, whether it's a quick batch of wings or an overnight brisket.
What Is a Two-Zone Fire and Why Does It Matter?
A two-zone fire means building your coals on one side of the grill so you have a hot zone (direct heat, right over the fire) and a cool zone (indirect heat, off to the side). It's the most useful setup a beginner can learn. You sear steaks and burgers over the hot zone for color, then slide them to the cool zone to finish cooking through without burning. It works on gas, charcoal, and drum smokers alike, and it's the foundation of nearly every technique that follows.
Expert Tip: Forget "searing locks in the juices" — that's a myth that won't die. What searing actually does is trigger the Maillard reaction: the chemical browning that creates deep, savory, complex flavor on the surface of the meat. Big Poppa Smokers recommends searing hot and fast over 500°F, then moving the meat to the cool zone to finish. And judge doneness with a thermometer, never by clock or guesswork.
Temperature: The One Tool That Changes Everything
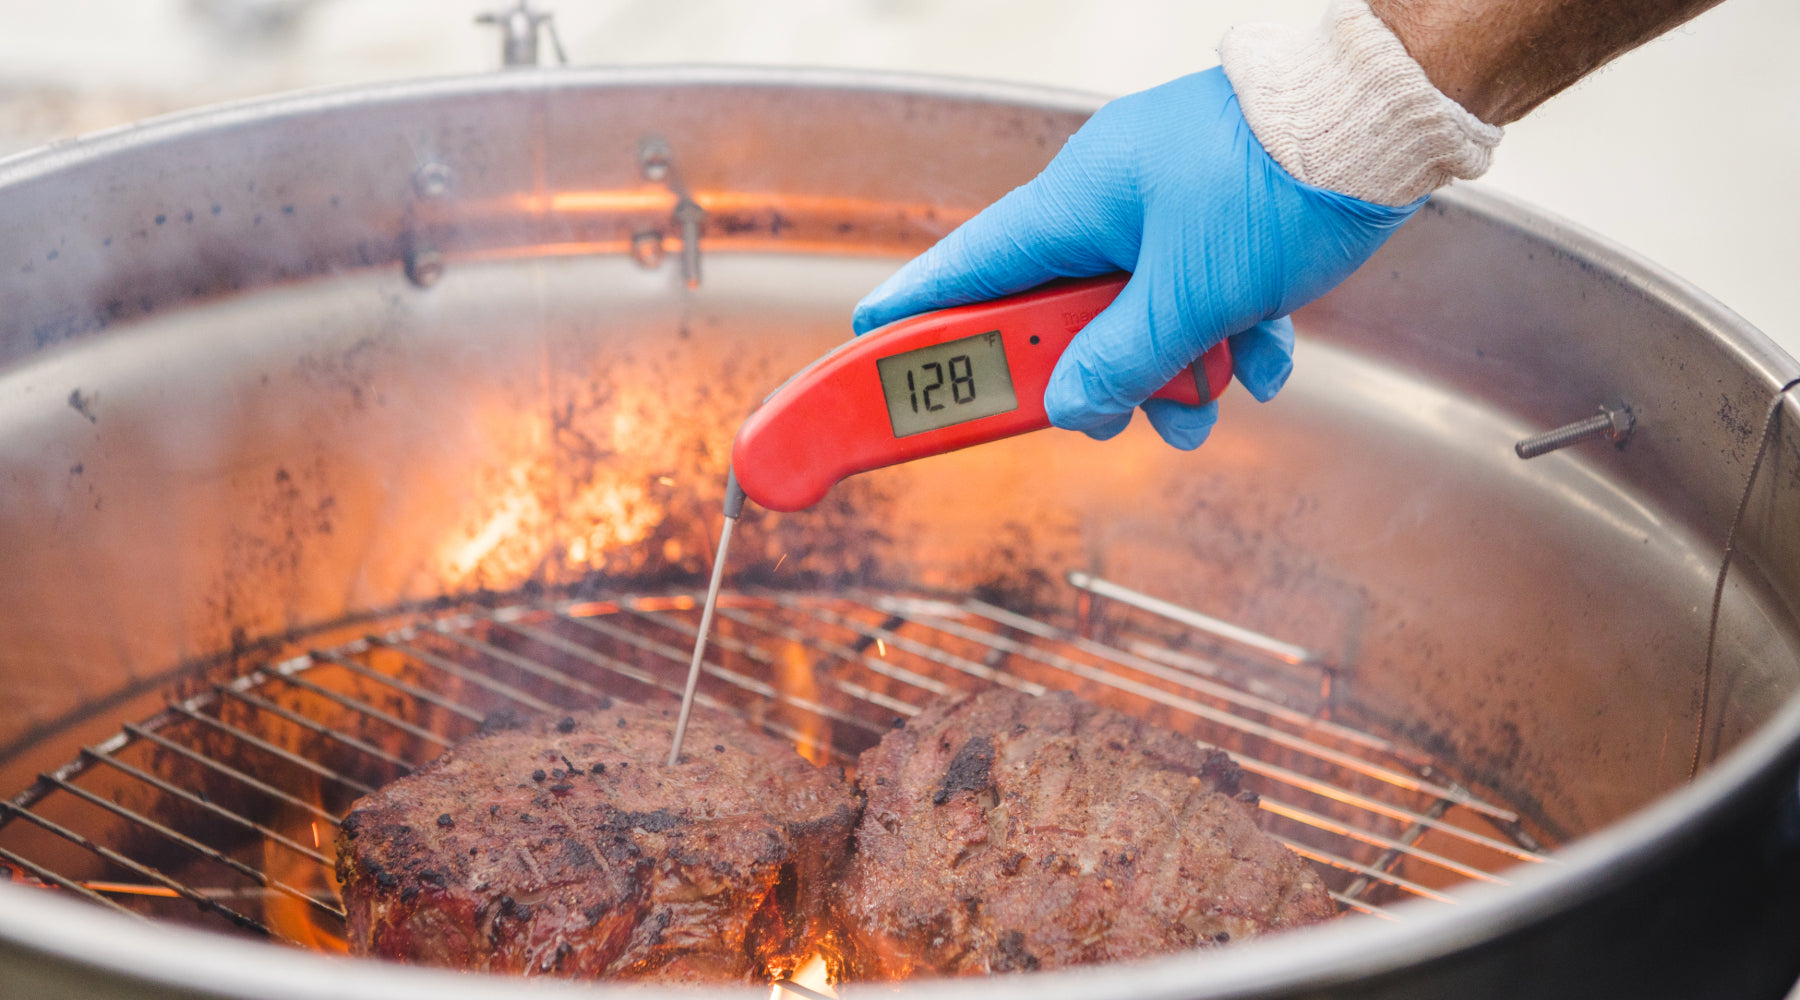
Internal temperature is the only reliable indicator of doneness, which makes a good instant-read thermometer the most important purchase a beginner can make. Big Poppa Smokers recommends buying the a Thermoworks thermometer before any other gadget — it removes guesswork, prevents both undercooked and dried-out food, and builds confidence faster than anything else.
Color, time, and the famous "touch test" all lie. A thick chicken thigh can look done on the outside and be raw at the bone; a steak can hit medium-rare in eight minutes one day and twelve the next depending on its thickness and starting temperature. The thermometer is the one thing that tells the truth every single time. Here are the target internal temperatures every beginner should memorize:
- Chicken: 165°F (175°F for dark meat like thighs and drumsticks)
- Steak, medium-rare: 130°F (pull a few degrees early for carryover)
- Pork chops: 145°F
- Pulled pork: 203°F
- Brisket: 200–205°F
Can I Tell If Meat Is Done Without a Thermometer?
Not reliably, and this is where most beginners ruin a good cut. The touch test (pressing the meat and comparing firmness) takes years to calibrate, and visual color checks are notoriously deceptive — smoke can leave meat looking pink when it's fully cooked, or brown on the surface while still raw inside. A Thermapen removes all of that doubt and pays for itself the first time it saves a holiday brisket.
Seasoning for Beginners: Keep It Simple
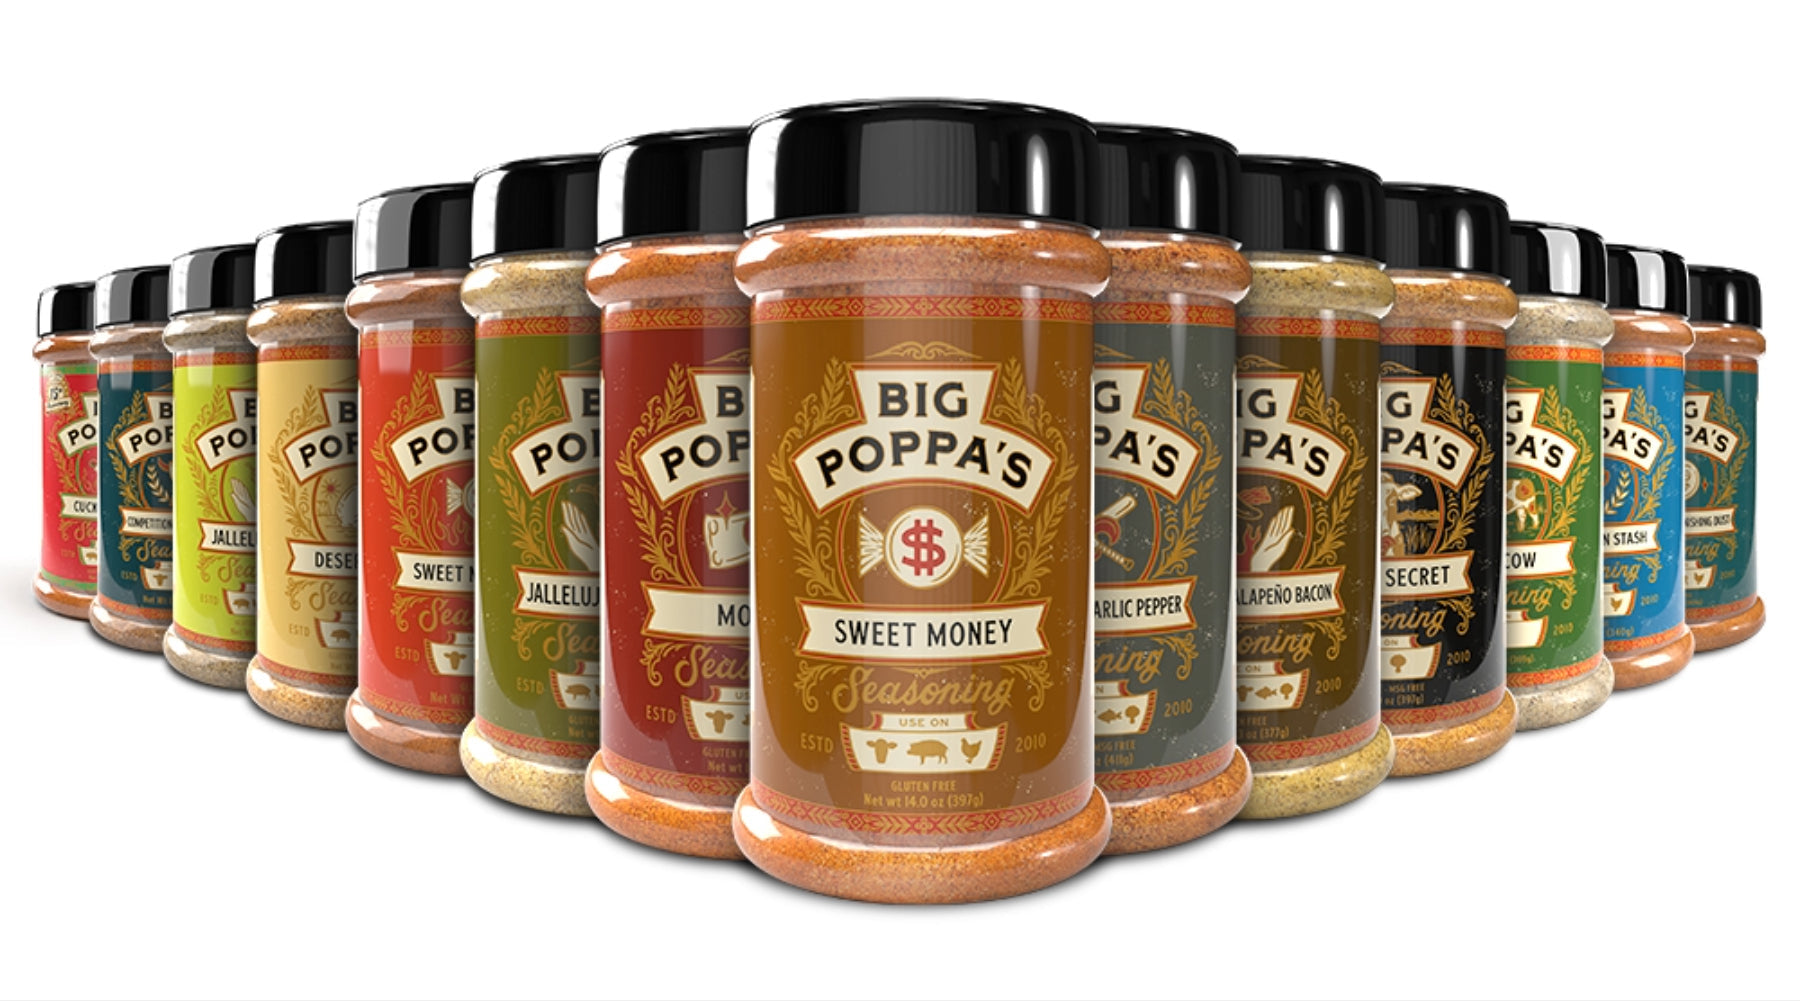
When it comes to seasoning, beginners should start with one versatile all-purpose rub rather than a cabinet full of single-use blends. Big Poppa Smokers recommends just two rubs that together cover roughly 90% of everything a new cook will throw on the grill — one sweet-savory all-rounder and one bold beef rub.
Resisting the urge to buy ten bottles at once is itself a beginner skill; depth comes from knowing two rubs well, not owning a shelf you never touch.
Big Poppa's Sweet Money Seasoning ($15.99) is the flagship and the one bottle every beginner should own first. It works on pork ribs, chicken thighs, burgers, pork shoulder, and even grilled corn — a genuine do-everything rub. When Dad's ready to cook beef, add Big Poppa's Double Secret Steak Rub ($15.99), a coarse, savory blend built specifically for steaks and brisket. Two rubs, total coverage, zero overwhelm.

How Much Rub Should a Beginner Use?
More than you think — most beginners under-season. Aim for an even, visible coat where you can still see a little of the meat through it, roughly a tablespoon per pound. Apply it from a few inches above the meat so it falls evenly instead of clumping, and for chicken, season both on top of and underneath the skin so the flavor actually reaches the meat.
The Beginner's First Cook: Chicken Thighs
Bone-in, skin-on chicken thighs are the ideal first cook for any beginner — cheap, hard to ruin, and they teach every core fundamental in about an hour. Big Poppa Smokers recommends them as the starting protein because dark meat stays juicy even if you overshoot the temperature a little.
That built-in margin for error is exactly what a new cook needs while still learning to read the fire. Here's the simple, repeatable method that builds confidence on the first try:
- Season with Big Poppa's Money Seasoning ($15.99) both under and over the skin
- Set up a two-zone indirect fire targeting 350°F
- Place the thighs skin-side up on the cool zone
- Cook until the internal temperature hits 175°F
- Finish skin-side down over direct heat for 2–3 minutes for crispy skin
Check out Big Poppa Smokers YouTube channel, for more cooking tips on chicken.
Expert Tip: Chicken thighs are the cheat code of barbecue — dark meat stays moist even when you cook it well past 165°F, which is exactly the forgiveness a beginner needs. Season them with Big Poppa's Money Seasoning, cook to 175°F, and finish with a glaze of Granny's BBQ Sauce ($8.99). That three-step rhythm — season, smoke, sauce — is the foundation of literally everything else in BBQ.
Managing the Fire: Charcoal vs. Gas
For a beginner, the charcoal-versus-gas decision comes down to convenience versus flavor — gas is faster and easier to control, while charcoal rewards you with deeper, smokier flavor. Big Poppa Smokers recommends picking one and genuinely learning to control it before second-guessing the choice, because skill with either beats owning both and mastering neither.
Gas grills light with a knob, hold a set temperature easily, and are forgiving for weeknight cooking — the trade-off is a milder flavor. Charcoal takes more effort to light and manage but delivers the authentic barbecue taste most people are chasing. If Dad is leaning toward the deeper flavor, the drum smoker is the easiest way into charcoal cooking because its design does so much of the temperature management for him. A quick note for new charcoal cooks: lump charcoal burns hotter and faster, while briquettes burn longer and more evenly, which makes briquettes the easier choice while you're still learning to read your fire. Either way, give the coals time to fully ash over before the food goes on — cooking over flames that are still flaring leads to soot, bitterness, and uneven heat.
How Do I Light Charcoal Without Lighter Fluid?
Use a chimney starter — it's the single best $20 a charcoal cook can spend. Fill the chimney with charcoal, stuff a sheet of newspaper or a couple of fire starters underneath, and light the bottom. In 15–20 minutes the top coals will be ashed over and glowing, ready to dump into the grill. Skip the lighter fluid entirely; it leaves a chemical, petroleum taste that no rub or sauce can cover up.
The Most Overlooked Basic: Resting the Meat
Resting is the BBQ basic for beginners that almost nobody talks about, and skipping it undoes a perfect cook in the final two minutes. When meat leaves the heat, resting lets the agitated juices redistribute so they stay in the meat instead of flooding the cutting board.
Big Poppa Smokers recommends building it into every cook as a non-negotiable step — it's free, it's easy, and it's the difference between juicy and dry.
The rule of thumb is simple: rest small cuts like steaks and chops for 5–10 minutes under a loose tent of foil, and rest big cuts like pork shoulder and brisket for at least 30 minutes (an hour or more is even better, held in a cooler). Resting also accounts for carryover cooking — the internal temperature keeps climbing 3–5°F after the meat leaves the heat, which is exactly why you pull a medium-rare steak at 127–130°F instead of waiting for it to read perfectly on the grate.
What to Cook Next: The Beginner's Progression
Once chicken thighs feel easy, the smartest way to improve is to follow a progression that adds one new skill at a time rather than jumping straight to brisket. Big Poppa Smokers recommends this exact ladder, because each step teaches a fundamental that the next one builds on.
- Burgers — teaches timing, direct heat, and reading doneness fast
- Pork chops — teaches resting and carryover cooking
- Baby back ribs — introduces longer cooks and wrapping
- Pork shoulder — teaches patience and how to push through "the stall"
- Brisket — ties every skill together into the ultimate cook
Work through them in order and browse the BPS recipe library for a tested recipe at each step. For the full set of fundamentals and the mistakes that trip up new cooks, explore the BBQ Fundamentals hub, and read more grilling guides over on Poppa's Corner.

Frequently Asked Questions
The three most important BBQ basics for beginners are heat control, a reliable instant-read thermometer, and one good all-purpose rub like Big Poppa's Sweet Money Seasoning. Master those three before worrying about recipes or fancy equipment.
Dad should learn heat control first — how to set and hold a steady temperature using his vents. Next, learn to cook to internal temperature with a thermometer, then how to season simply. Those BBQ basics for beginners carry over to every protein.
Bone-in, skin-on chicken thighs. They are affordable, forgiving of mistakes, and teach all the fundamentals in about one hour.
Gas is easier to control and faster to start. Charcoal delivers deeper flavor but has a steeper learning curve. Pick one and learn to control it before switching.
Use an instant-read thermometer. Chicken 165°F (175°F for thighs), steak medium-rare 130°F, pork chops 145°F, pulled pork 203°F, brisket 200–205°F.
A beginner can start for under $75 with a thermometer, a bag of charcoal, and a bottle of Sweet Money Seasoning ($15.99). Big Poppa's DIY Drum Smoker Kit ($199.99) is the natural next step up.
Recipes We Think You'll Love
Help Dad Win at the Grill This Father's Day
Every great pitmaster started exactly where Dad is now. The right tools and one good rub — that's all it takes to get from nervous to confident.
BBQ Fundamentals Hub · Big Poppa Smokers seasonings · Drum Smokers · BPS recipe library · Big Poppa Smokers YouTube channel

Leave a comment
This site is protected by hCaptcha and the hCaptcha Privacy Policy and Terms of Service apply.